


Krea.ai has announced the launch of their new Video Open Beta now available to everyone. Krea Video leverages the power of both Keyframes and Text prompts, hoping to provide more control with flexibility in video creation.
This is a trend I’ve seen in AI creative tools: The search for control. As these tools become more specialized, just re-rolling prompts is not enough to achieve results.
Let’s see what it’s about.
Create an account
Krea Video is currently in Open Beta, so it’s a good time to test it and learn about it. I would expect some paying plans in the future.
How Krea Video Works
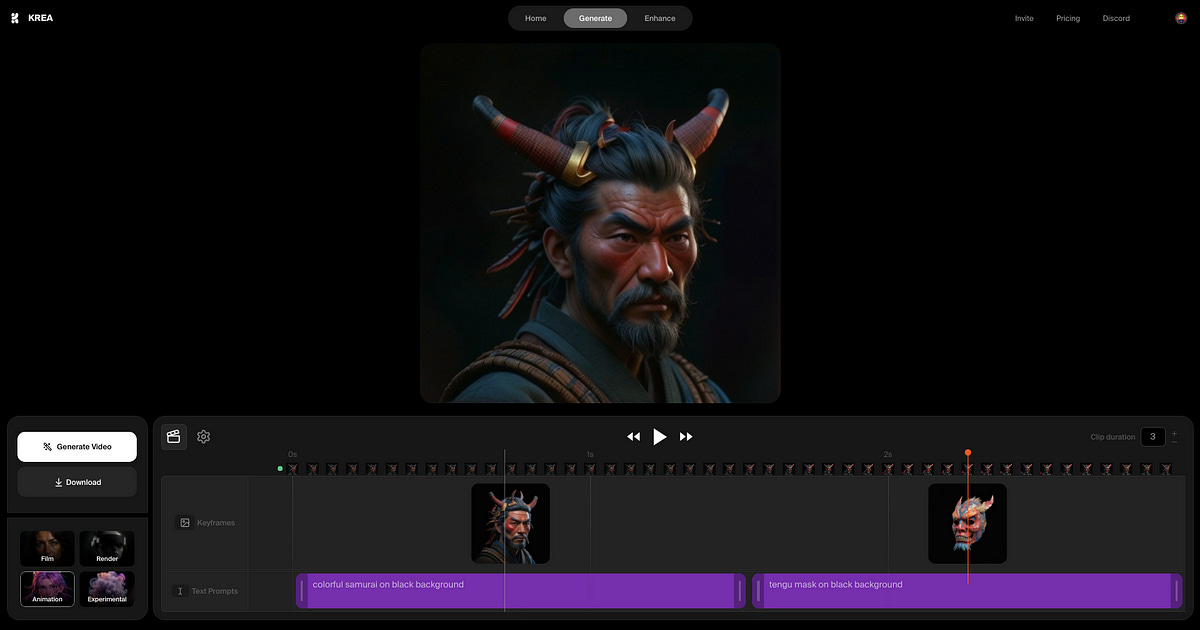
Krea Video allows you to add Keyframes with Image/Text prompts within a timeline, defining the final video. Here’s how each component contributes to the creation process:
Image/Text Prompts: These inputs describe how the user wants the video to look over a specific time range, allowing for detailed narrative and visual instructions.
Keyframe: These show how the video looks at a specific timeframe, based on Image/Text prompts. They act as visual anchors that guide the video’s appearance. You can add as many as you want.
Features and Flexibility
With Krea Video, you can change the duration of your video and easily move Keyframes and prompts around the timeline. This flexibility ensures that you can fine-tune your video to meet your exact needs. Additionally, you can adjust various settings to:
Generate videos at different aspect ratios.
Control the amount of movement within the video.
Create videos designed to loop seamlessly.
Testing the Process
Ok. Let’s test it.
First, Midjourney has some awesome styles I want to try:
In this case, we are going with --sref 727859908
The full prompt: Dynamic, zoomed out wide angle, beautiful woman with long flowing hair, air circus acrobat, looking up swinging on a trapeze seat, movement, circus elements, flowing ribbons, idealized beauty — ar 16:9 — stylize 700 — niji 6 — sref 727859908
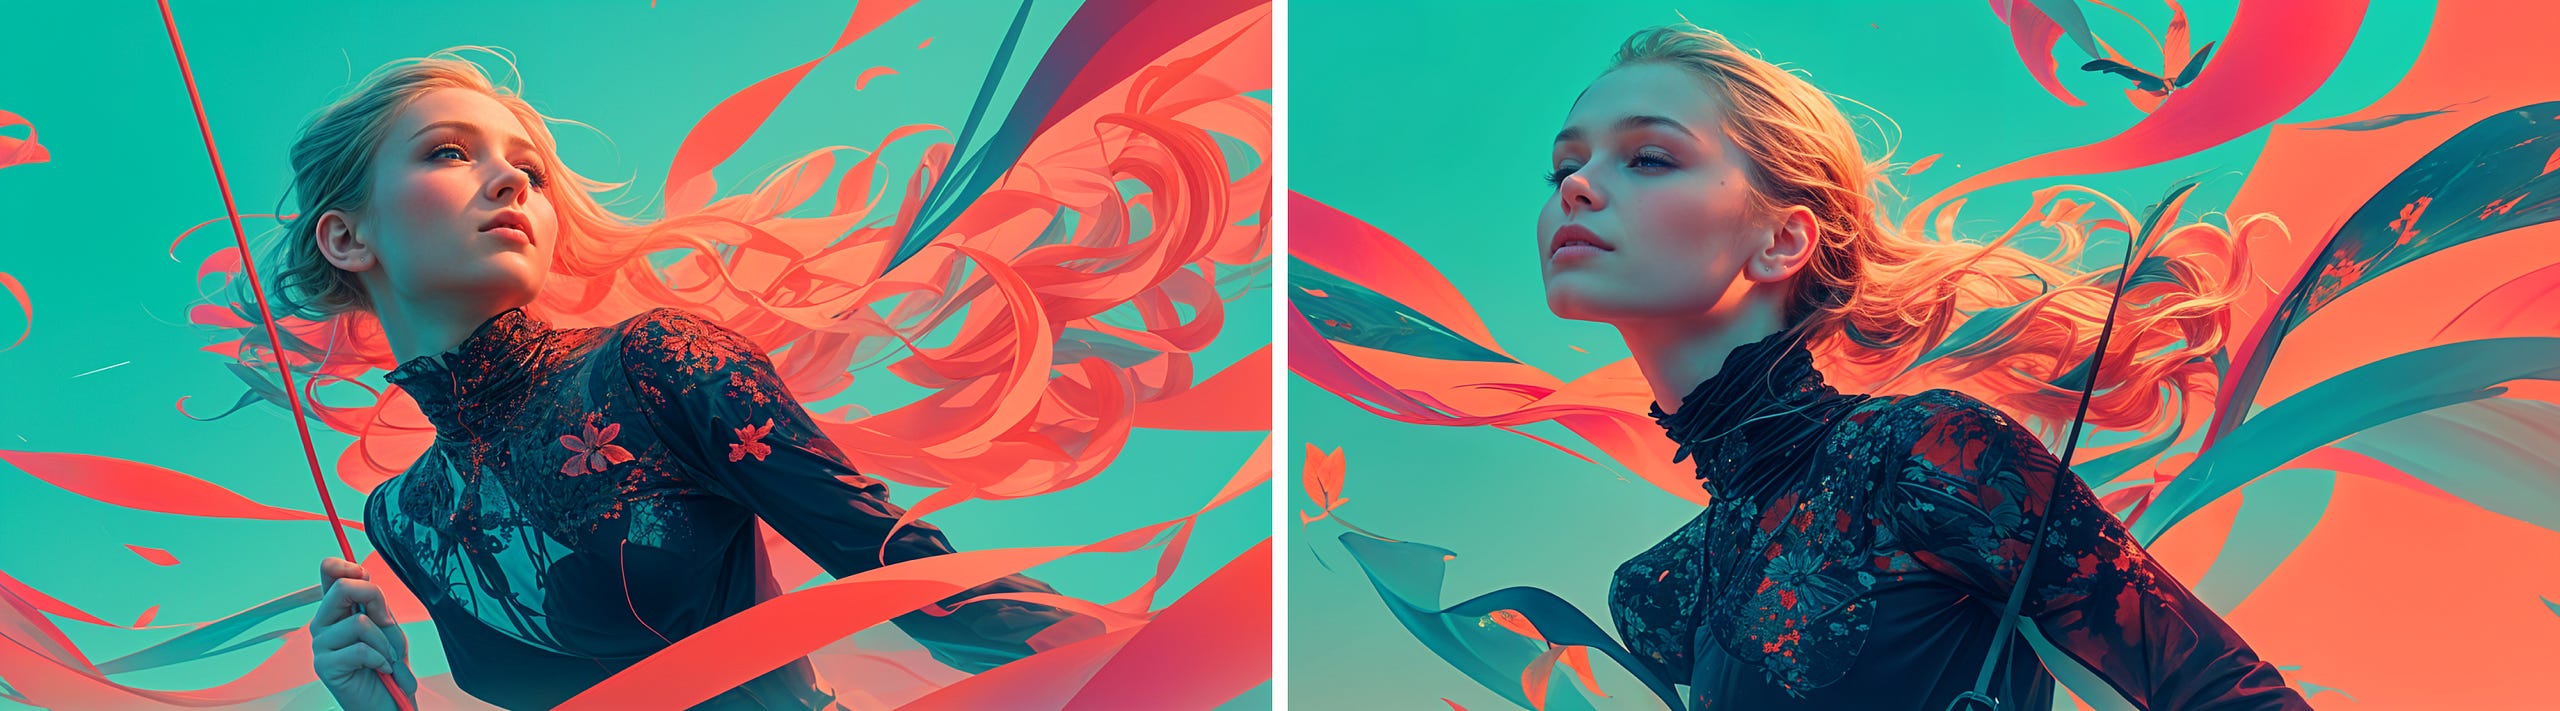
I used the Slight Variation Button to create very similar images. In this case, I just want to create an animation of mostly the same images. Here’s the second one, which seems easier to get good results:

Second, we will use the awesome Freepik Upscaler to add details and quality to our images.
Two-Stage Generation Process
The video generation process in Krea Video occurs in two stages:
Low-Resolution Preview: The first stage creates a low-resolution preview of your video, allowing you to get a sense of the overall look and feel.
Enhancement: The second stage enhances the video, producing the final high-quality version.
At any point during the process, you can cancel by clicking the white button on the left, giving you complete control over your video creation.
Take a look at the result. (Sadly, I planned to add animations of the Tiger too, but I burned my daily credits with the girls).
Krea Video Open Beta so far looks like a lot of fun. And improved control over the animations. Keep experimenting!
Thanks for reading!