

How I transformed an android into a normal human with AI video tools
I used a short and simple trick with LumaLabs


In my journey of testing and experimenting with AI tools for art and video, I’ve been deeply involved in creating a vast sci-fi universe.
And to bring it to life, there are times when I need to make scenes with special effects. This is one of those cases.
Among the tools I use, Midjourney has been particularly amazing. Each SREF (Style Reference) code in Midjourney opens a window into a unique world, and there are billions of them.
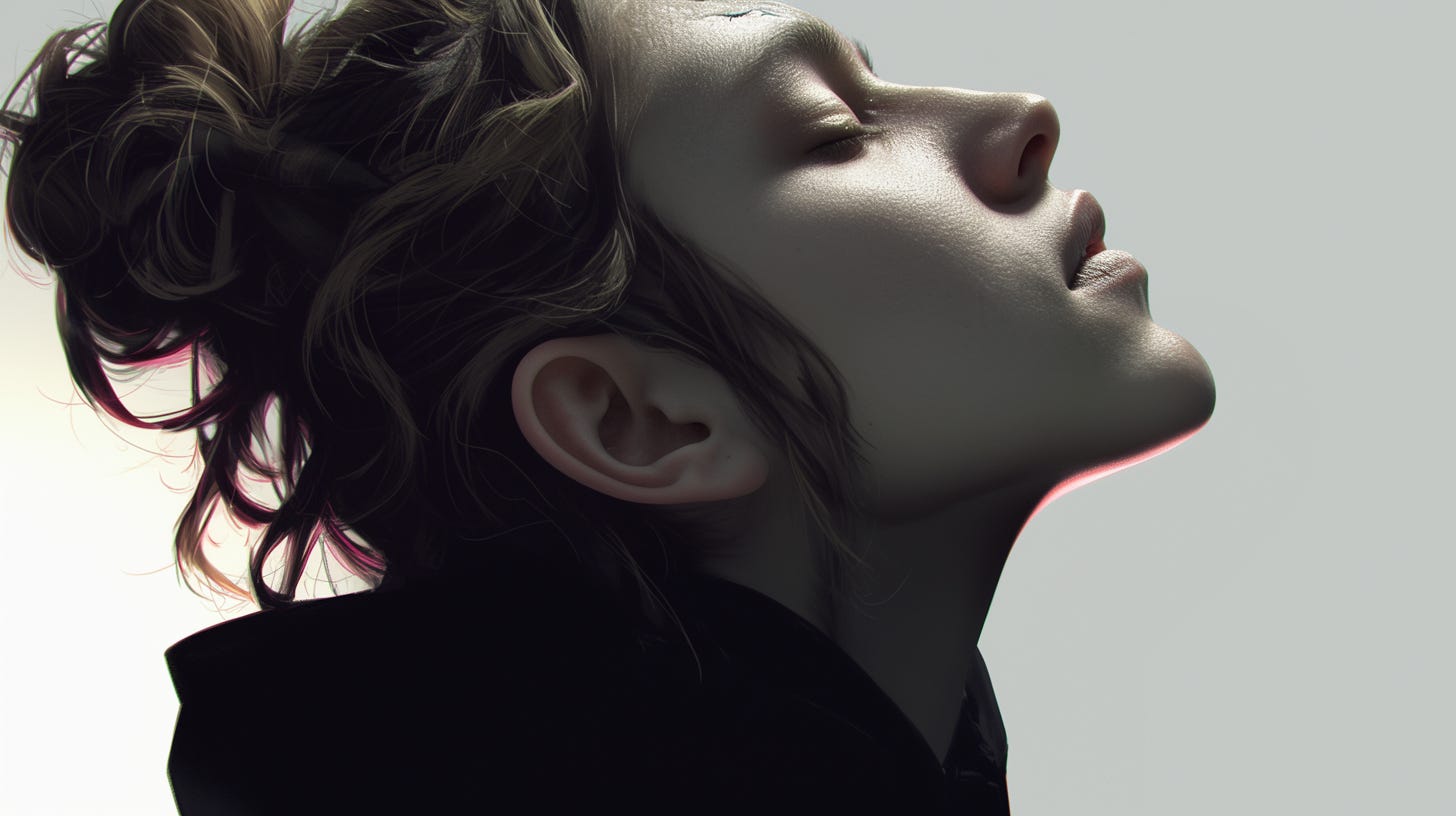
Recently, I found one such world with the SREF code 157705617.

Using this code and the following prompt I was able to get the initial image at the start of the article:
Person with subdermal implants in neck and chest, cyber screens, black background —chaos 10— ar 16:9 — sref 157705617 — p — stylize 1000 — niji 6
It is the image of a robotic android-like character. While I was happy with the outcome, I wanted to take it a step further. My goal was to transform this robotic android into a fully human character.
The Challenge
The main challenge I faced was turning this robotic being into a normal human. This transformation required a seamless transition, and that’s where LumaLabs came into play.
Step 1: Crafting the Final Shot
LumaLabs stands out as one of the few AI video tools that allow you to define both the initial and final shots of a sequence. To achieve my goal, I needed to create a final image where the character appeared fully human.
I began by editing the original Midjourney-generated image. I carefully selected all the parts that had robotic elements and adjusted the prompt to something more natural:
Normal, regular Person, black background — chaos 10 — ar 16:9 — personalize svdjn3p — stylize 1000 — niji 6
Notice how I removed the SREF code to eliminate any residual robotic features.
This new prompt gave me the human version of the character that I needed for the final shot:
Step 2: Using LumaLabs for the Transformation
With both the initial (robotic) and final (human) images ready, I moved to LumaLabs. I uploaded both shots into the tool, specifying the robotic character as the starting point and the human character as the endpoint. After a couple of attempts, I achieved a smooth transition between the two images.
Step 3: Final Touches
To highlight the transformation even more, I added a simple animation featuring the final human image. This helped emphasize the completion of the android-to-human transition:

This is my AI-powered transformation of a robotic android into a human being. By combining the power of Midjourney for creative prompts and LumaLabs for dynamic video transitions, I was able to bring my vision to life.
This is the full video:
This simple trick opens up more possibilities for creators working on sci-fi or any other genre. The ability to control and refine your AI-generated visuals with these tools is a game-changer. So, if you’re working on something similar, I highly recommend giving this method a try!
Thanks for reading!
Hi👋 I’m Erik. If you liked this story, clap and follow me here on Medium.
I‘m sharing my learnings in my newsletter Creative AI.
It would be amazing if you could join me on this journey.