

I created a YouTube series using Midjourney and Runway Gen-3: Here’s what I learned
Exploring new workflows for Video with Generative AI

Exploring new workflows for Video with Generative AI
Lately, I’ve been diving into the world of storytelling with AI. I believe these tools have evolved enough to produce decent video stories, and the only way to truly find out is by doing it myself.
Tools Used:
Concept and Script: ChatGPT and Claude AI
Base Images, Casting, and Concept Design: Midjourney and Freepik
Video Generation: Runway Gen-3, LumaLabs, Kling
Voices and Sound Effects: ElevenLabs, Hedra Labs, and Capcut
Editing: Capcut
Graphic Design: Figma
Since these tools are still relatively new, the workflow is experimental, and I expect it will evolve with each unique project.
Here’s a look at the process I followed for this one.
Concept and Script
As a designer, I often draw inspiration from single images. While working on The Big Book of Midjourney Reference Styles (sref codes), I became captivated by sref 3456119169:
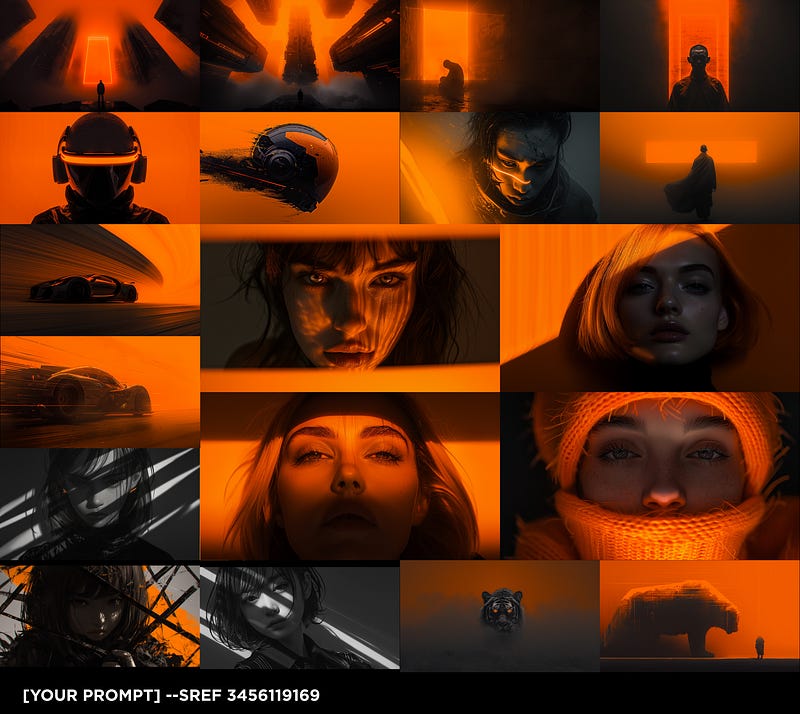
I wanted to create a gritty story of a lone sci-fi headhunter, using that reference as the mood. With those elements in mind, I turned to ChatGPT and Claude AI to brainstorm ideas with the following prompt:
Futuristic setting in a human colony in another planet. A hitman goes to a bar to collect some payments. He ends up with a task to hunt somebody. Suggest 5 possible ideas for a short video story in a grim, cyberpunk setting
After reviewing the responses, I extracted the ideas I liked and refined the story further with this prompt:
Make a script of the following plot: The hitman enters the bar to collect his payment, only to find out that the person who owes him has been killed by a notorious droid criminal who has been hiding within the colony’s slums, and and also taken the payment. The hitman decides to hunt this criminal.
Now, with a basic draft of the script, I used it as a guide for generating images with Midjourney and Freepik.
Generating Images
To maintain a consistent aesthetic throughout the video, I used the sref parameter in Midjourney, specifically sref 3456119169. This provided an orange, misty mood across all the images. Here are some examples of the generated images:

Cinematic Still, aerial view of futuristic city with skyscrapers, remove person, dystopian, cyberpunk — ar 16:9 — sref 3456119169 — p — stylize 1000 — v 6

Cinematic Still, Futuristic vehicle in an alley in a city with skyscrapers, dystopian, cyberpunk — ar 16:9 — sref 3456119169 — v 6 — stylize 1000 — p
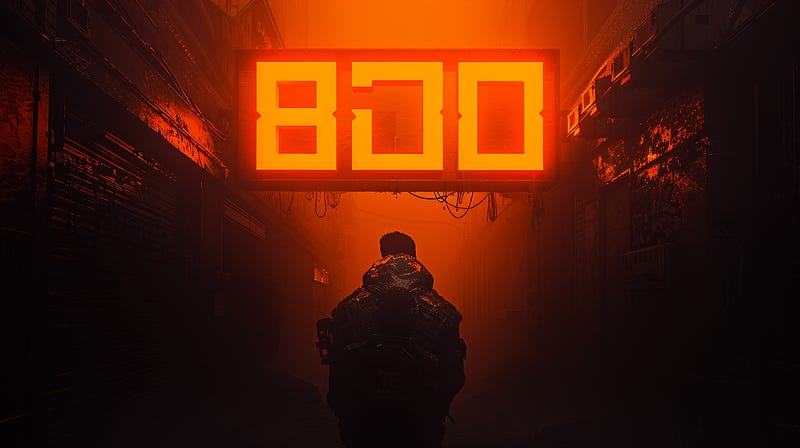
Cinematic Still, Futuristic bar sign in an alley, city with skyscrapers in the background, dystopian, cyberpunk — ar 16:9 — sref 3456119169 — v 6 — stylize 1000 — p
Some of the images generated with this sref were a bit rough, which could be problematic when animating.
Upscaling with Freepik was necessary to improve the quality.
Animating the Images
The next step involved animating these images using Runway, LumaLabs, and Kling. Adding a brief prompt describing the action required helped bring the scenes to life:
Prompt: Vehicle flies away
Prompt: Person walking
LumaLabs’ image-blending feature proved useful, allowing me to experiment with transitioning between scenes. The results added depth to the structure.

The basic structure was taking shape.
But here comes THE BIG BAD PROBLEM of AI Films:
DumDumDumDuuuuuum.
Character Consistency.
This remains a significant challenge in AI filmmaking, and it’s far from being fully resolved. For this project, I used a workaround that produced satisfactory results.
Characters
I had a clear vision for my character’s appearance, based on a celebrity reference. My initial prompt was:
Cinematic still, frontal shot, portrait Bruce Willis with a futuristic trenchcoat walking in an alley, dystopian, cyberpunk — ar 16:9 — sref 3456119169 — p — stylize 1000 — v 6

Yup. He works.
This worked well enough, so I used this as a base template for all the character scenes, only changing the scene description and adding the -cref parameter with the image URL for reinforcement.


While not perfect, it was good enough for the project.
Advice: Don’t stress over this issue. There’s currently no perfect solution.
For supporting actors, another trick is to generate a main portrait of the character and use Midjourney’s editor to change the surroundings. This adds just enough variety for the scene, making the characters different enough once animated.
Side Note: One limitation I encountered with this sref was the inability to change a character’s clothing to a futuristic style. I realized later that blending the sref with another featuring futuristic elements might have solved this issue.


Once animated, they will be different enough.
Side Note: Here I found a limit of this Midjourney sref. No matter how much I changed the prompt, I could get MJ to dress her with futuristic clothing. (As I was writing this, it ocurred to me I could have blended the sref with another with a futuristic elements. Oh, well)
Voices and Sounds
There are several options for adding voice and sound to your characters:
ElevenLabs: Generate voices with Text to Voice.
Runway and Hedra Labs: Lip-sync features allow you to add voices to images.
Capcut: Offers voice generation but no lip-sync feature.
Additionally, sound effects elevate your video. Both ElevenLabs and Capcut provide options to generate or add them.
Uploading to YouTube
YouTube is the best platform to share your creations and build an audience. I recommend creating and sharing your channel.
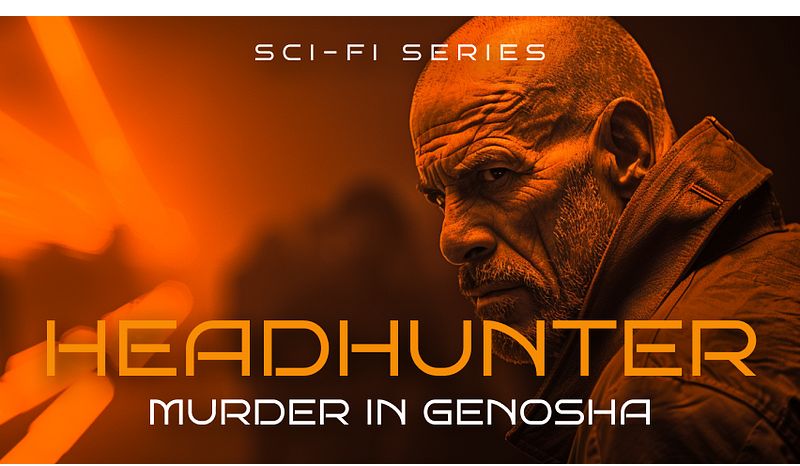
For thumbnails, I used the free version of Figma. It offers a range of fantastic fonts. Here are a few thumbnails I designed:


Which one do you prefer?
This is the final result. I’d love to hear your feedback or answer any questions about the process!
Thanks for reading!
Hi👋 I’m Erik. If you liked this story, clap and follow me here on Medium.
I‘m sharing my learnings in this newsletter.
It would be amazing if you could join me on this journey.